Specifying custom curved slat feature wall panels factory for Wholesale and OEM Orders
Two suppliers quoting the same specification can deliver different panel consistency, installation effort and reorder cost. For a wholesale buyer qualifying a second source, compare the curve-forming method, approved finish sample, production controls and capacity to repeat the same profile—not just the unit price.
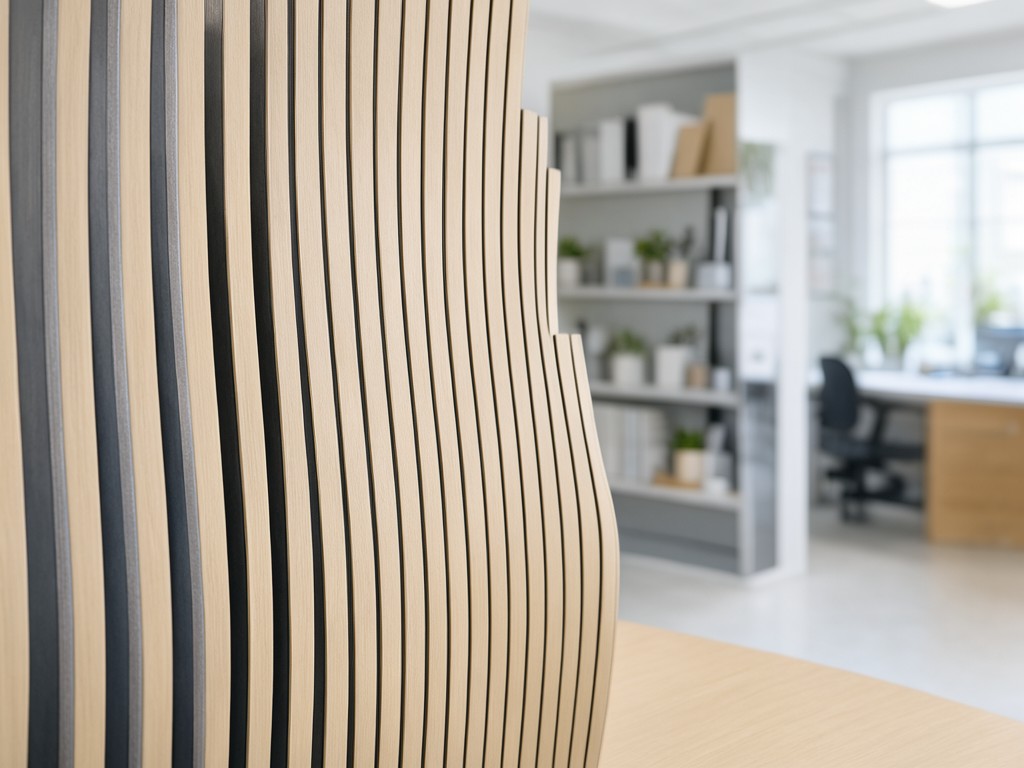
Our production basis is CNC-cut curved plywood ribs assembled with face slats in a radius-specific jig. This makes the panel geometry repeatable, while radius, slat width, material and finish determine the setup work, achievable tolerance and price at each volume.
How It Is Built and What That Changes
CNC-cut plywood ribs set the panel’s radius and provide fixing points for the slats. Operators assemble each unit against a profile jig, then trim, sand and apply the specified coating. The jig controls the curve during assembly; consistent rib dimensions and slat spacing matter most at panel joints, where small differences show as a stepped line across the wall.
A tighter curve puts more demand on slat width, thickness and spacing. Narrower slats can follow a smaller radius with less force, but they add parts and fastening time. A wider slat can lower assembly cost on a broad curve, although it may need more relief or a segmented layout to sit cleanly. We confirm the proposed radius against a drawing or physical reference before releasing production tooling.
Weather exposure changes the material brief. For sheltered interior use, standard decorative finishes may suit the application. Where humidity or occasional moisture is expected, specify an appropriate plywood grade, sealed edges and a compatible coating. These panels are decorative wall cladding, not a water barrier; direct exposure needs a project-specific review of substrate, joints and installation details.
Customisation Options and Their Limits
Select the visual and construction inputs in sequence. Each change can affect jig setup, material yield or the time needed to approve a sample.
- Set the wall geometry first: provide the radius, panel height, width and joint layout.
- For a broad, continuous curve, use a matched rib profile and confirm the seam position against the elevation.
- For a tight curve, test the proposed slat width and spacing on a sample; a faceted profile may be more practical than forcing a wide slat around a small radius.
- Choose the face material and finish for the location. Veneer supports a natural grain appearance, while a painted finish offers a defined colour; both require an approved reference for shade and sheen.
- Confirm mounting and service access. Fixing points, backing clearance and panel orientation should be shown on the approved drawing before the jig and packing plan are fixed.
Custom colour, non-standard radius and mixed panel sizes add setup or sorting work. Consolidating the same profile and finish across more units usually lowers setup cost per panel; frequent design changes can offset that saving.
Usage Scenarios and Buyer Segments
Hospitality fit-out distributors often need repeatable panel modules for reception areas and corridors, where matching curve and finish across phased orders matters more than one-off fabrication speed. Furniture and interior product importers may instead source a defined size range for project packages, with installation drawings and replacement units tied to the original batch.
For humid interiors or covered semi-outdoor areas, buyers should specify the exposure and cleaning routine before choosing substrate and coating. A finish selected for a dry display wall may not suit regular damp wiping or temperature swings. Approving a representative finished panel helps both suppliers work to the same colour, sheen and assembly reference.
OEM and ODM Programme Structure
For OEM orders, the buyer supplies the approved geometry, finish specification and branding details; the factory converts these into controlled drawings, a sample and a repeatable production file. ODM support can include profile development, panel sizing and a proposed assembly layout, with buyer approval required before production.
A second-source qualification should include a first-article review and documented sign-off on the curve, panel joints, finish and packing method. CNC programming and radius-specific jig preparation create upfront cost. Once the geometry is approved, repeat orders can reuse that setup; higher volume also improves sheet nesting and spreads setup time across more units. A new radius or finish can reset part of that cost and extend the sample stage.
| Order stage | Indicative MOQ | Indicative lead time | Planning note |
|---|---|---|---|
| Profile sample | 1–3 panels | About 2–4 weeks | Allow time for drawing review, jig setup, finish approval and any revision. |
| Initial production order | Typically 20–50 panels per profile and finish | About 4–7 weeks after approval | Actual minimum depends on material purchasing, finish batching and panel mix. |
| Repeat order using approved tooling | Quoted by profile, finish and batch size | Confirmed against the production queue | Unchanged drawings and consolidated quantities reduce repeat setup and scheduling uncertainty. |
These planning ranges are not a production commitment. Material availability, finish batch size, order mix and approval turnaround set the confirmed schedule.
Export Packaging and Handling Protection
Curved panels need support at their intended bearing points. Packing them flat without profile support can place pressure on the slats or fixings, while loose movement in a crate can mark the finish at contact points. We plan separators and shaped supports around the panel dimensions, finish cure and shipment route.
For wholesale export, agree whether panels ship assembled or nested by component, and identify each unit by profile and installation sequence. Crate labels, quantity marks and batch references help the importer receive, sort and trace replacement parts. Share handling limits and destination conditions before packing approval, particularly where the route includes long storage or humid transit.
Setup, Use and Replacement Parts
Installers should use the approved layout and fixing detail, check the wall substrate, and dry-fit adjacent panels before final fastening. Wall variation can affect joint alignment even when panel profiles match, so allow adjustment at the mounting system rather than forcing the curve into position.
- Clean with a soft cloth and a product compatible with the selected coating; test unfamiliar cleaners on an inconspicuous area.
- Keep panels away from standing water and report swelling, open joints or coating damage before the condition spreads to adjacent units.
- For replacements, match the original profile, slat spacing, finish reference and batch details. A replacement made to a revised drawing may not align with installed panels.
A retained approved sample and a saved production drawing make second-source reorders easier to compare. Send the target quantity, radius, finish and installation elevation with a sample request so the factory can review tooling needs, cost breaks and packing requirements.
To qualify a second supplier, request a profile sample and production review. Include your drawing or reference panel, planned order volume and destination so the quotation reflects the actual setup and export pack.