Specifying odm bathroom vanity cabinet system solution for Wholesale and OEM Orders
A launch date can slip before production starts: a basin cut-out changes, the approved finish is unavailable, or cabinet and mirror cartons move on different schedules. Specify the vanity as a coordinated system, with dimensions, finish references, hardware and pack-out confirmed against one approved order file.
Wholesale programs commonly combine a base cabinet with a countertop or basin, drawer and door hardware, and optional mirror storage. Confirm which pieces are included in each SKU; basin, tap, waste fittings and wall fixings should not be assumed unless listed in the specification.
Scope of Supply and Physical Form
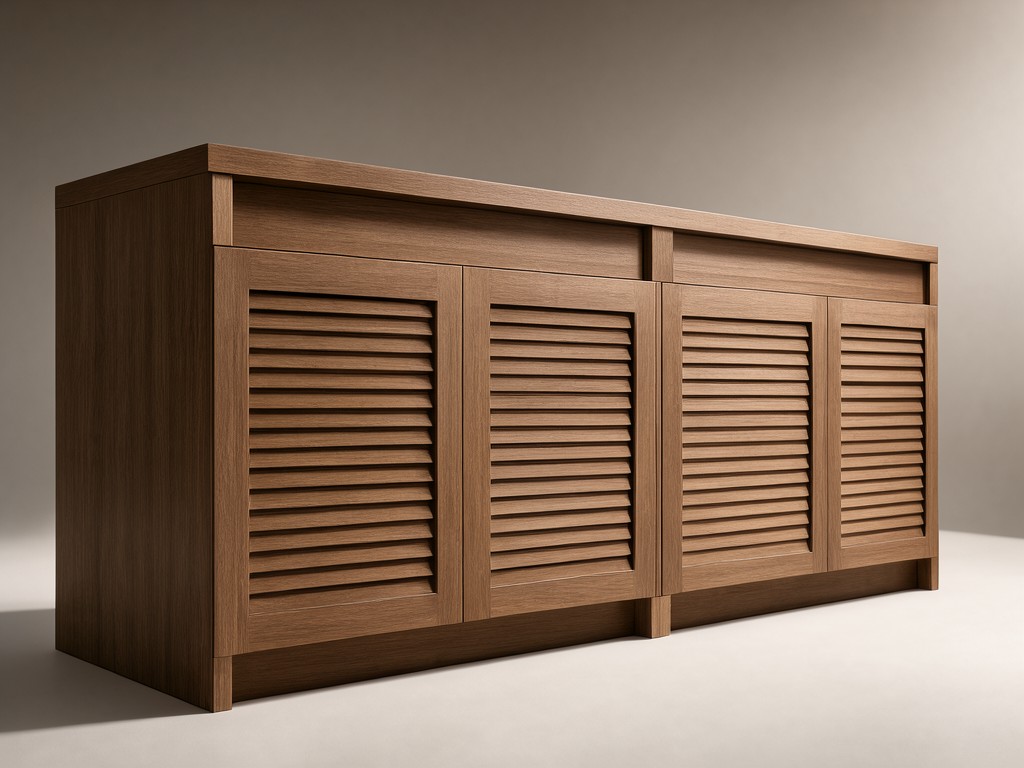
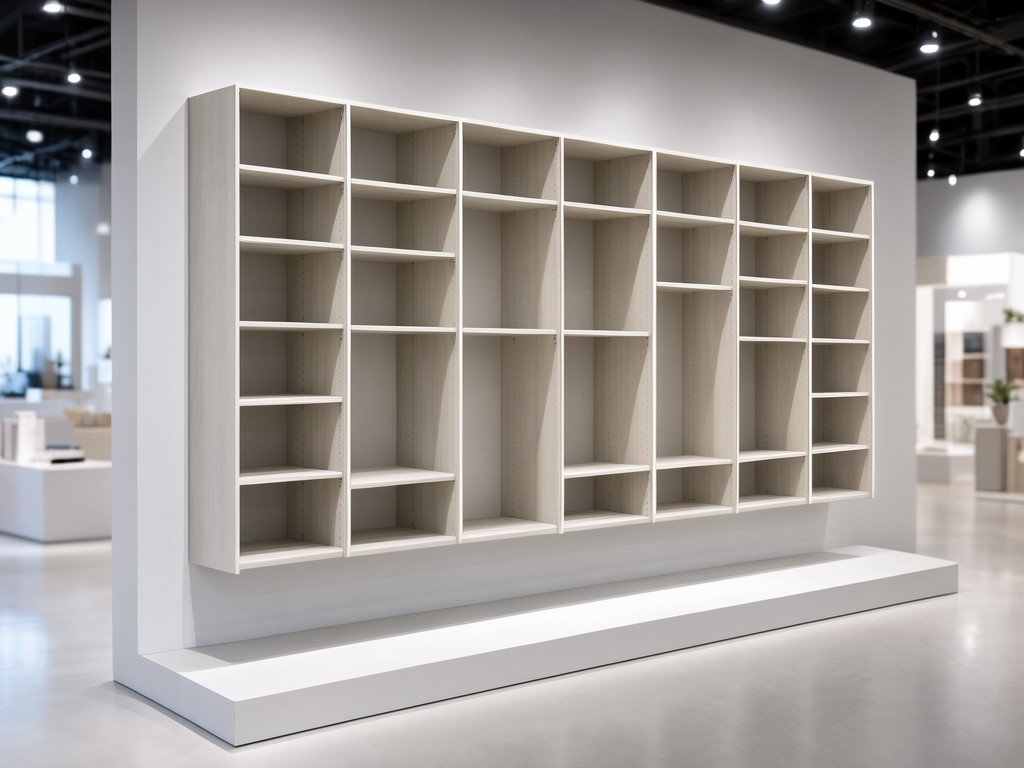
The cabinet is built from cut panels joined as a carcass, with a front set of doors, drawers, or a mix of both. Wall-hung units need a defined fixing method and load path; floor-standing units need stable feet or a plinth and clearance for plumbing. The basin position, waste route and tap hole pattern set the usable drawer depth and top layout.
Use the specification table as a drawing-release checklist. Final dimensions depend on the room plan, basin model, wall construction and chosen panel system.
| Bathroom use condition | Complaint to prevent | Specification to lock |
|---|---|---|
| Daily splash exposure around the basin and countertop joint | Swollen panel edges or lifted finish at cut-outs | Panel substrate, edge treatment, sealant responsibility and cut-out sealing method |
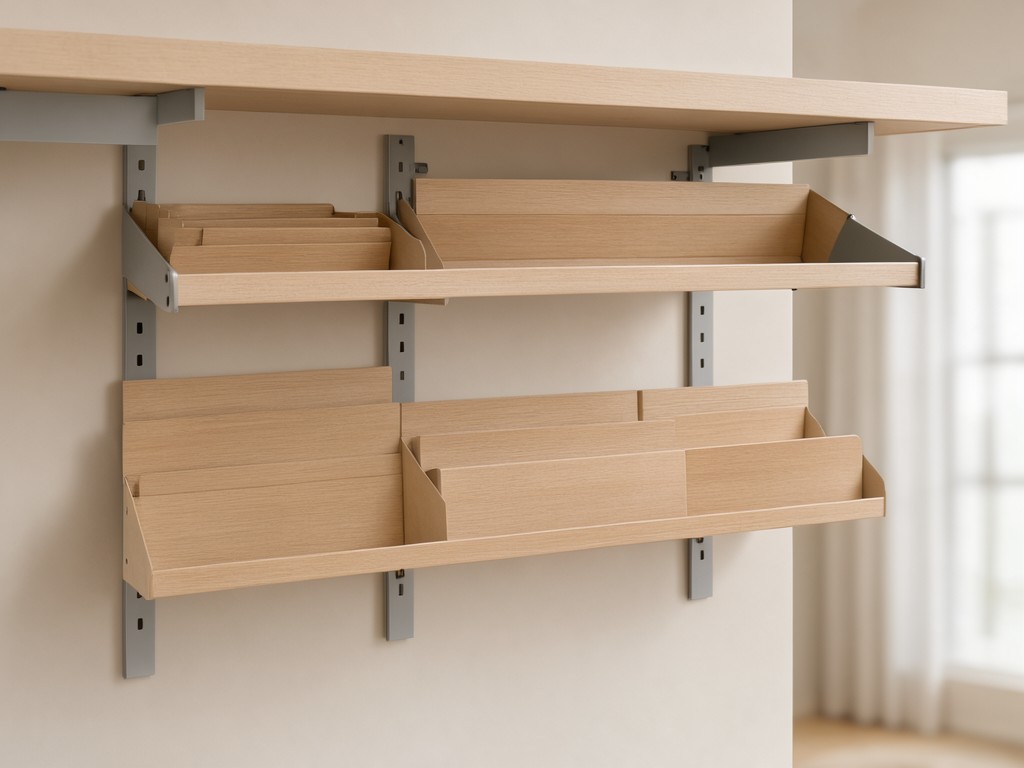
| Heavy countertop or basin on a wall-hung cabinet | Fixing movement, sag or a gap opening along the wall | Cabinet width and span, backing or rail design, wall fixing type and installation load assumptions |
| Repeated opening of wide drawers with plumbing behind the front | Drawer fouling, uneven gaps or loose runner fixings | Runner travel, drawer-box dimensions, waste clearance and drilling coordinates |
| Assembly by a retailer or installer from flat-pack cartons | Missing fittings, misaligned doors or carton damage in transit | Hardware count, drilling map, part identification and carton protection at vulnerable corners |
What Actually Determines Performance
Weight and stiffness trade off against each other. A thicker panel or added reinforcement can limit deflection across a wide span, but it adds material cost and carton weight; a lighter carcass can suit a compact floor-standing unit, provided the fixing points and countertop load remain within the agreed design assumptions.
Fatigue appears at the stress concentration: hinge screws, runner attachments, corner joints and wall-fixing points. Panel thickness alone does not resolve those risks. Production checks should cover key dimensions, hole positions, squareness, front gaps, hardware operation and finish appearance against the approved sample. A pilot build can expose plumbing conflicts and assembly errors before the full batch enters the schedule.
Release rule: freeze the basin drawing, cabinet envelope, hardware positions and finish sample together. A late change to any one of these can trigger revised CNC programs, fresh first-off checks, or replacement packaging artwork.
Materials and Construction Trade-offs
Panel choice affects purchase cost, machining behaviour and tolerance for incidental moisture. MDF gives a smooth base for painted or wrapped fronts, while particleboard is often selected for melamine-faced carcasses where cost and sheet yield matter. Plywood may suit a program that prioritises screw holding or a particular exposed-edge appearance, but species, veneer quality and surface finish affect price and consistency.
Melamine-Faced Panels
A practical choice for repeat colors and cost-controlled carcasses. Match the panel face and edge band to the order sample; unsealed edges and exposed cut-outs remain vulnerable to standing water.

Painted or Wrapped Fronts
These options broaden the surface and color range. Paint adds process steps and requires agreement on sheen and sample approval; wrapped fronts depend on clean edges and controlled heat at profiles and corners.
CNC nesting controls panel yield and repeatability, while drilling jigs and edge-banding settings help keep hole locations and front alignment consistent. Dedicated profiles or special door details can add setup and tooling cost. Higher order volume spreads those fixed costs across more units and can improve material purchasing efficiency, but it does not remove the need to reserve production capacity for the required ship window.
Segment-Specific Requirements
Distributor programs need stable SKU dimensions, carton identification and repeatable finish references across replenishment orders. Retail launches add artwork approval, barcode placement and a firm pack-out definition; hospitality or multi-unit projects tend to place more weight on replaceable hardware and consistent installation details across rooms.
Before confirming the production slot, align these points across purchasing, product and logistics:
- Approved shop drawings with cabinet dimensions, basin interface, plumbing clearances and wall-fixing details.
- A retained finish reference and written color or sheen acceptance method for future repeat orders.
- Final unit configuration, hardware schedule, assembly instructions, retail labels and carton marks.
- Inspection scope, sample sign-off, shipment split and the date by which all order changes must stop.
Setup, Use and Replacement Parts
Install the cabinet level and use fixings suited to the wall material and the specified load. Keep water from pooling at panel joints, wipe spills promptly, and avoid abrasive cleaners on painted, wrapped or laminated faces. During assembly, use the supplied hole pattern and hardware; forcing a misaligned hinge or runner can damage the panel fixing before the cabinet enters service.
For after-sales support, record the cabinet model, finish reference and hardware code on the packing list or product file. Confirm whether replacement fronts, hinges, runners or handles will be held as service parts, and retain the corresponding drilling details so a replacement can match the original fit.
Order Planning: MOQ and Lead-Time Inputs
MOQ and production timing depend on panel decor availability, finish method, hardware sourcing, carton configuration and whether special profiles or fixtures are required. The schedule should start from approved drawings, finish sample and pack-out details, not from an unconfirmed concept. Larger batches can lower unit setup cost through longer machine runs and better sheet nesting; a new finish or low-volume variant may carry a higher per-unit setup share.
| Order stage | MOQ and cost effect | Lead-time checkpoint |
|---|---|---|
| First production order or new finish | Quantity is set against panel and finish batch requirements, hardware packs and any dedicated profile or fixture cost. | Confirm sample approval, drawing release, material availability and artwork sign-off before the production window is booked. |
| Repeat order with unchanged specification | Repeat volume can spread setup costs and support more efficient sheet nesting; mixed colors or sizes can reduce that gain. | Reconfirm stock status, production capacity, current finish reference and shipment split against the requested launch date. |
| Multi-SKU or phased shipment | MOQ may apply by finish, size or hardware set rather than only to the total order quantity. | Agree carton labels, allocation by SKU and shipment sequence before packing begins. |
Discuss the Project Before the Order Slot
Share the target launch date, forecast quantity by SKU, basin and cabinet drawings, finish direction, packaging needs and destination. That gives the team a basis to check material timing, fixture requirements, production capacity and shipment configuration before you commit to a schedule. Discuss your vanity cabinet project.