custom modern retro bathroom vanity cabinet suppliers: What Buyers Should Check Before Ordering
First-article tooling determines whether a retro-inspired vanity door, drawer front and carcass meet at the same reveal on every unit. CNC panel cutting, edge banding, drilling and dry assembly establish the dimensions before finishing; changes made after a finish schedule is approved can push a launch date by requiring new samples and repeat checks. Buyers should lock the approved drawings, hardware positions and finish reference before production release.
Panel dimensions
Confirm finished width, height, thickness and edge treatment against the approved drawing, not just the nominal cabinet size.
Hardware positions
Hinge cups, drawer slides and pull locations need a shared datum so doors and drawers remain aligned across the lot.
Finish reference
Approve colour and sheen on a production-representative panel; a small colour shift is conspicuous across adjacent cabinet fronts.
What This Product Is and Where It Fits
Modern retro vanity cabinets combine familiar furniture cues—such as framed fronts, tapered legs or warm wood tones—with current bathroom storage layouts. OEM buyers and retail buyers commonly specify a cabinet-only unit or a vanity set prepared for a basin and countertop. The cabinet’s intended basin, plumbing route and wall or floor installation determine the internal clearances, back cut-outs and support points.
Process choice shows up later as fit at the wall, drawer travel and finish consistency. Moisture-resistant engineered panels can keep dimensions more uniform across a repeat order, while plywood or solid-wood details may better suit a particular design brief but require closer control of grain, movement and finishing. Set the material and construction against the target retail price, bathroom exposure and expected service access.
The Problem Buyers Keep Paying For
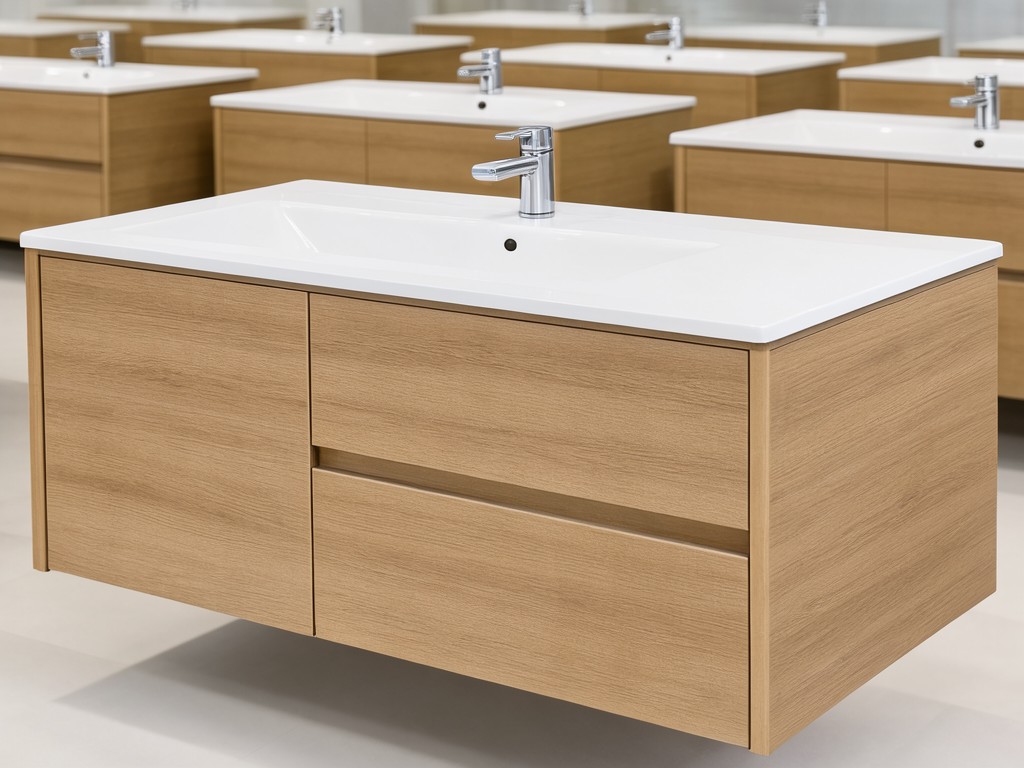
A cabinet can pass a first-sample review and still create returns if later units vary in door gap, drawer alignment, overall width or finish tone. Small differences become obvious when retailers display multiple units together, and installers lose time when plumbing openings or wall clearances do not match the product drawing. Rework, replacement panels and delayed replenishment often cost more than the original saving on a less controlled process.
Decision rule: if the range will be reordered or merchandised as a coordinated set, approve a retained reference sample and record the key dimensions, hardware locations and finish appearance. A lower unit price is not a saving if batch drift triggers sorting, site adjustment or replacement shipments.
Finish mismatch is especially costly on retro designs that pair painted fronts with exposed wood details. Keep the finish system, substrate preparation and colour reference consistent between the approved sample and replenishment lot; change any of these only through a documented sample review.
Segment-Specific Requirements
Retail programs need stable carton dimensions, readable item identification and a finish that stays consistent across display and replenishment stock. OEM programs may instead prioritise a fixed basin interface, repeatable hardware locations or a defined packaging configuration for container loading. For both, confirm the finished cabinet dimensions and the packed dimensions before committing to a launch schedule; late carton changes can affect pallet planning and freight space.
Consistency is set at the forming stage: panel thickness, cut size, edge application and drilling references shape the final fit. Bathroom humidity also makes exposed edges, joints and cut-outs relevant to service life. Specify suitable panel and edge protection for the expected environment, then keep the basin and plumbing layout within the approved drawing so installers do not need to alter finished components on site.
Packaging for Retail and Project Shipments
Packaging should protect corners, finished faces and projecting hardware through handling and export transit. Choose the pack format around whether the cabinet ships assembled or flat-packed, how it will be handled at the receiving point and whether retail labelling must remain visible.
| Pack detail | Buyer check | Schedule or damage risk |
|---|---|---|
| Corner and face protection | Check protection against the cabinet’s finish, edges and hardware projection. | Inadequate separation can leave dents or scuffs that require replacement or resale as damaged stock. |
| Flat-pack or assembled format | Agree pack configuration, assembly instructions and included fitting parts before carton approval. | A format change can affect carton size, freight planning and warehouse handling. |
| Carton identification | Confirm SKU, finish, quantity and destination marks match the buyer’s receiving and retail process. | Incorrect marks can hold a shipment at receiving or send stock to the wrong location. |
How Consistency Is Held Across Batches
Batch control starts with a released drawing and an agreed sample, then carries through panel cutting, edge application, drilling, assembly and finishing. Factory checks should compare finished dimensions, door and drawer alignment, hardware operation and colour against the approved reference. Record the inspection result by production lot so a later reorder can be traced to the same specification.
Use the same measurement points on the sample and production units; otherwise a nominally identical cabinet can appear to drift between inspections. A retained finish panel is useful for visual comparison under consistent lighting, while a fit check catches changes in reveals and drawer travel before cartons close. Where a component or material source changes, review its effect on dimensions and appearance before it enters a repeat order.
For buyers planning a launch, agree when the first-article review occurs and how quickly feedback must return. Approval delays at that point can compress production and packing time; a signed drawing, finish reference and carton specification reduce the chance of late-stage clarification.
Setup, Use and Replacement Parts
A vanity installed in a busy family bathroom sees frequent drawer cycles, splashes and repeated cleaning; a guest bathroom may see lighter daily use but still needs protected edges around the basin and plumbing cut-outs. The cabinet should be level and fixed as specified for its construction, with service access left around supply lines and the waste trap. Do not treat furniture-style legs or trim as a substitute for the mounting method shown in the installation instructions.
| Use level | Typical configuration and planning size | Material and service focus |
|---|---|---|
| Guest or occasional-use bathroom | Single-basin units are often planned around 600–900 mm width; approximate cabinet weight varies with panels, drawers and finish. | Engineered-panel carcass with protected edges can suit a price-led range; check finish care and access to replaceable hinges or slides. |
| Daily family bathroom | Single- or double-basin formats commonly span about 900–1200 mm and above; confirm actual dimensions and packed weight from the approved specification. | Prioritise protected edges, stable drawer alignment and available replacement hardware for frequent use and damp-room exposure. |
| Retail display or project installation | Use the project drawing for width, depth, height and basin interface; no single weight applies across different layouts and materials. | Keep finish references and service parts consistent across the installed or displayed set to simplify upkeep and replenishment. |
Clean finished surfaces with a soft cloth and a mild cleaner approved for the selected coating; standing water at joints or cut edges should be wiped away. Abrasive pads and harsh chemicals can dull or mark the finish. Buyers should identify hinges, drawer slides, pulls and any removable trim by part or drawing reference, then confirm whether replacements can be supplied separately rather than as a complete cabinet.
Ordering, Tooling and Lead-Time Questions
Which details need approval before a first article is made?
Provide the cabinet drawing with finished dimensions, panel materials and thicknesses, basin and plumbing clearances, hardware positions, finish references and pack requirements. If the retail launch depends on a fixed date, include sample review and feedback time in the production plan.
How do tooling and order quantity affect the schedule?
New door profiles, drilling patterns or dedicated fixtures may add setup and sample approval time. Repeat orders against an unchanged drawing and retained sample can avoid some development steps, but material availability, finishing capacity and packaging approval still affect the confirmed dispatch window. Ask suppliers to separate sample timing from production timing.
Can replacement hardware be ordered later?
Confirm the hardware identification, finish and availability period before the first shipment. A drawing or parts list tied to the cabinet revision helps retail service teams order the correct hinge, slide or pull if an item needs replacement.
Discuss Your Vanity Cabinet Program
Share the target launch date, cabinet drawing, finish reference and expected order volume to review sample steps, production timing and shipment configuration with a supplier.